Adobe Premiere Pro is one of the most powerful and widely used video editing tools in the industry. Whether you’re creating content for YouTube, social media, or professional projects, Premiere Pro offers a robust set of features to bring your vision to life. However, for beginners, the software can seem overwhelming at first glance.
This step-by-step guide will walk you through the basics of how to edit videos in Adobe Premiere Pro, helping you get started with confidence. By the end of this article, you’ll know how to import footage, cut clips, add transitions, and export your final video. Let’s dive in!
Getting Started with Adobe Premiere Pro
1. Install and Set Up Adobe Premiere Pro
- Download and install Adobe Premiere Pro from the Adobe Creative Cloud.
- Launch the software and create a new project by clicking New Project.
- Name your project and choose a location to save it.
2. Understand the Workspace
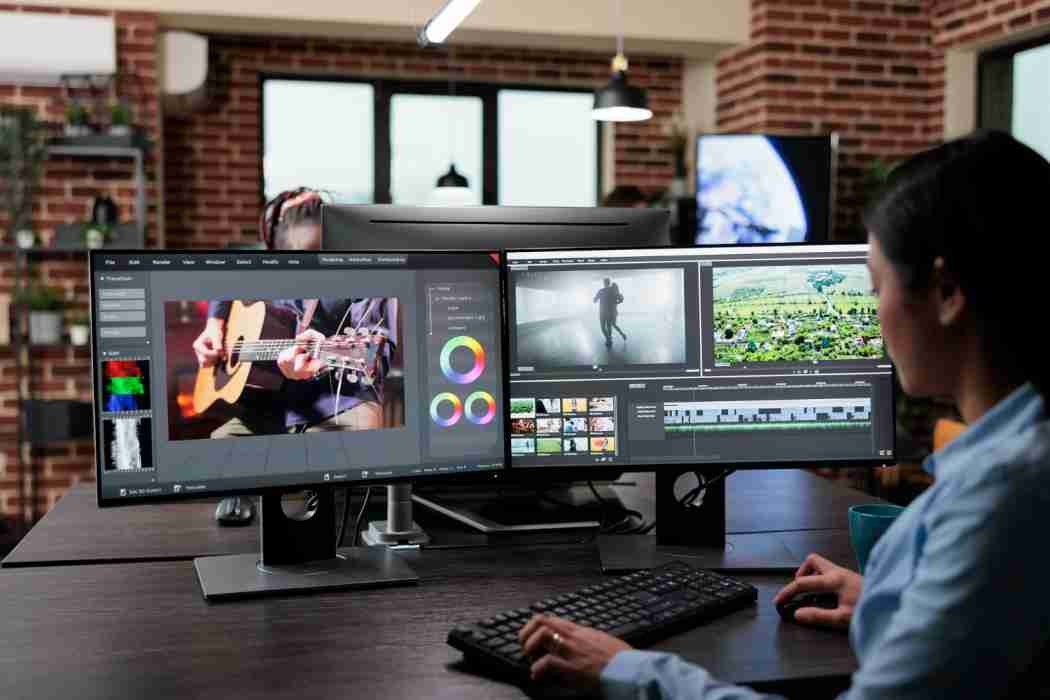
Premiere Pro’s interface is divided into several panels:
- Project Panel: Where you import and organize your media files.
- Source Monitor: For previewing and trimming clips before adding them to the timeline.
- Program Monitor: Displays the final output of your edited video.
- Timeline Panel: Where you arrange and edit your clips.
- Tools Panel: Contains tools for cutting, selecting, and manipulating clips.
Step-by-Step Guide to Editing Videos in Premiere Pro
Step 1: Import Your Footage
- Go to the Project Panel and right-click, then select Import.
- Choose your video, audio, and image files from your computer.
- Alternatively, drag and drop files directly into the Project Panel.
Tip: Organize your files into bins (folders) for better management.
Step 2: Create a Sequence
A sequence is where you arrange and edit your clips.
- Drag a video clip from the Project Panel to the Timeline Panel.
- Premiere Pro will automatically create a sequence with the same settings as your clip.
- Alternatively, go to File > New > Sequence and choose a preset that matches your project settings (e.g., HD, 4K).
Step 3: Trim and Cut Clips
- Drag a clip from the Project Panel to the Source Monitor.
- Use the Playhead to navigate through the clip.
- Set In and Out points to select the portion of the clip you want to use.
- Drag the trimmed clip from the Source Monitor to the Timeline.
Pro Tip: Use the Razor Tool (C) to cut clips directly in the Timeline.
Step 4: Arrange Clips on the Timeline
- Drag and drop clips from the Project Panel to the Timeline.
- Rearrange clips by dragging them left or right.
- Use the Selection Tool (V) to adjust the length of clips by dragging their edges.
Step 5: Add Transitions
Transitions help smooth the jump between clips.
- Go to the Effects Panel and open the Video Transitions folder.
- Drag a transition (e.g., Cross Dissolve) between two clips on the Timeline.
- Adjust the duration of the transition by dragging its edges.
Step 6: Add Titles and Text
- Go to File > New > Legacy Title to create a new title.
- Use the Title Toolbar to add and customize text.
- Drag the title from the Project Panel to the Timeline.
Tip: Use the Essential Graphics Panel for more advanced text and title options.
Step 7: Add Music and Sound Effects
- Import your audio files into the Project Panel.
- Drag audio clips to the Timeline below your video clips.
- Use the Pen Tool (P) to adjust audio levels by creating keyframes.
Pro Tip: Use the Audio Track Mixer to fine-tune audio levels and effects.
Step 8: Apply Video Effects
- Go to the Effects Panel and browse through the Video Effects folder.
- Drag an effect (e.g., Color Correction, Blur) onto a clip in the Timeline.
- Adjust the effect settings in the Effect Controls Panel.
Step 9: Color Correction and Grading
- Select a clip in the Timeline and go to the Lumetri Color Panel.
- Use the Basic Correction tab to adjust exposure, contrast, and white balance.
- Use the Creative tab to apply color grading presets or create your own look.
Step 10: Export Your Video
- Go to File > Export > Media.
- In the Export Settings window, choose a format (e.g., H.264 for MP4).
- Set the output resolution, bitrate, and other settings.
- Click Export to save your video.
Tip: Use the Queue option to export your video using Adobe Media Encoder for faster processing.
Keyboard Shortcuts for Faster Editing
- Spacebar: Play/Pause
- Ctrl/Cmd + K: Cut at the playhead
- Ctrl/Cmd + Z: Undo
- Ctrl/Cmd + S: Save project
- I: Set In point
- O: Set Out point
Tips for Beginners
Tips for Beginners: How to Edit Videos in Adobe Premiere Pro for Beginners
Editing videos in Adobe Premiere Pro can seem intimidating at first, but with a few simple tips, you’ll be creating professional-looking content in no time. Start by familiarizing yourself with the interface. Premiere Pro has a customizable workspace, so take some time to explore the panels like the Project Panel (where you import media), the Timeline (where you arrange clips), and the Program Monitor (where you preview your edits).
Don’t be afraid to rearrange the layout to suit your workflow. Begin with a basic project by importing your footage, dragging it into the timeline, and using the Razor Tool (C) to cut and trim clips. This is the foundation of editing, and mastering it will make everything else easier.
Next, learn the basics of transitions and effects. Transitions like crossfades or dips to black can make your video flow smoothly between scenes. You can find these in the Effects Panel under “Video Transitions.” Drag and drop them between clips to see how they work.
For effects, experiment with options like color correction or blurring to enhance your footage. Remember, less is often more—overusing effects can distract from your story.
Another beginner-friendly tip is to add text and titles. Use the Essential Graphics panel to create simple titles, lower thirds, or captions. This is a great way to introduce sections, highlight key points, or add context to your video.
Finally, focus on audio and exporting. Good audio is just as important as visuals. Use the Audio Track Mixer to adjust volume levels and add background music or sound effects. Premiere Pro also has tools to reduce background noise or enhance voice clarity.
When you’re ready to share your video, go to File > Export > Media to open the Export Settings window. Choose a format like H.264 for high-quality yet manageable file sizes, and adjust settings like resolution and bitrate as needed.
Don’t forget to preview your video before exporting to catch any last-minute tweaks. With these beginner tips, you’ll quickly gain confidence and start creating videos that impress!
- Save Frequently: Premiere Pro can crash, so save your project often.
- Use Presets: Save time by using built-in presets for titles, transitions, and effects.
- Watch Tutorials: Adobe offers free tutorials on their website and YouTube.
- Experiment: Don’t be afraid to try new tools and features.
Conclusion
Editing videos in Adobe Premiere Pro may seem daunting at first, but with practice, you’ll quickly become comfortable with its tools and features. By following this step-by-step guide, you’ll be able to import footage, cut clips, add transitions, and export your final video like a pro.
Remember, the key to mastering Premiere Pro is experimentation and persistence. As you gain experience, you’ll discover new techniques and workflows that suit your style. Happy editing!
Ready to take your video editing skills to the next level? Check out our advanced Premiere Pro tutorials and resources to become a video editing expert.
How to Edit Videos in Adobe Premiere Pro for Beginners
Learn how to edit videos in Adobe Premiere Pro with this step-by-step guide for beginners. From importing footage to exporting your final video, master the basics today!
“Step-by-step guide to editing videos in Adobe Premiere Pro for beginners”
Read Also
External Resource Links
Happy editing! parasprunki 15.0 Fast, fun, and totally addictive